How to use Patch Tool in Photoshop CC
The Patch Tool on Photoshop CC is so easy to use, I’m going to show you how to do it in less than five minutes! That’s right, the Patch Tool is quick and very precise in removing blemishes or other objects from your photos, whether its a portrait or a landscape photo, this tool is the easiest to learn for photographers starting out on Photoshop.
First, make sure you are working on a copy of your original photo. Second, make sure you remember the keyboard short cuts for these two tools; Patch Tool is J and Zoom Tool is Z. You’ll be using both often when working with the patch tool.
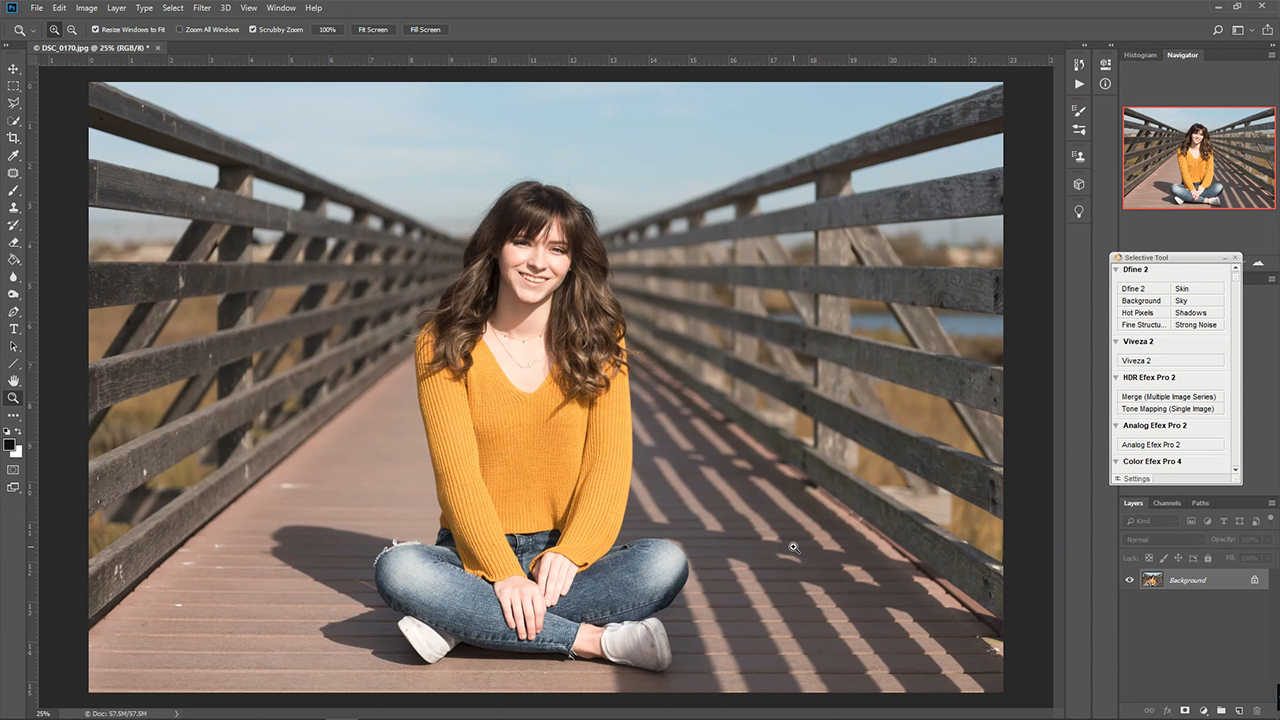
Because its easier to learn visually, the video below was created so you can see how it all works. The video below is recorded continuously so you can see how to clean up a photo in less than five minutes! And you can do it too, just follow the instructions on the video.
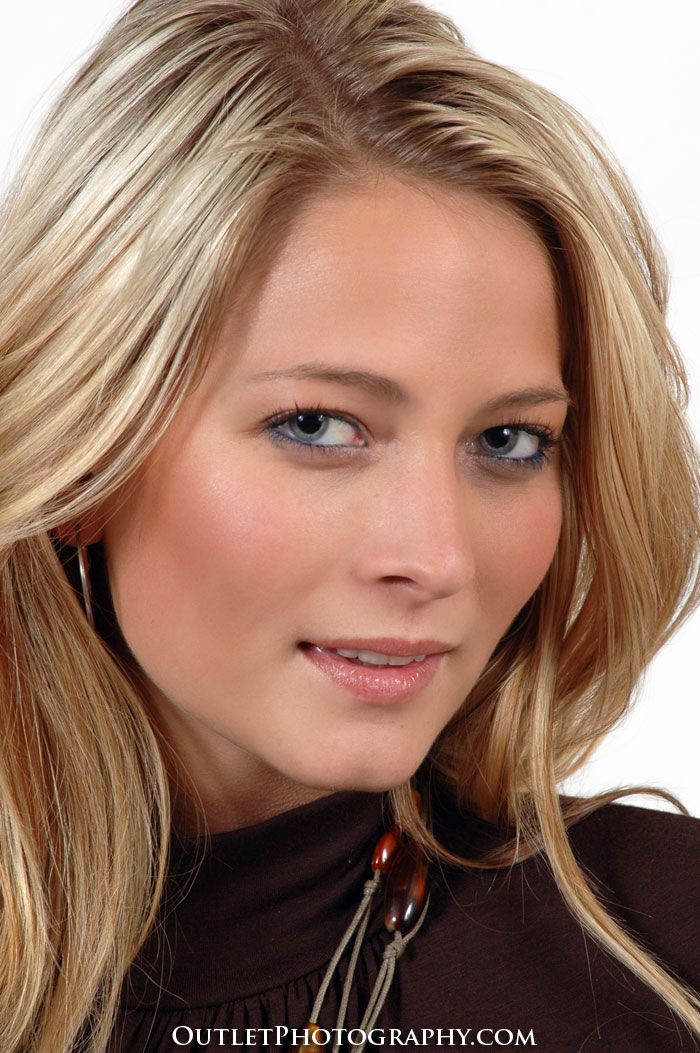
For many of your simple edits, the Patch Tool will be enough to remove small imperfections from portraits. It’s one of my main tools on Photoshop.
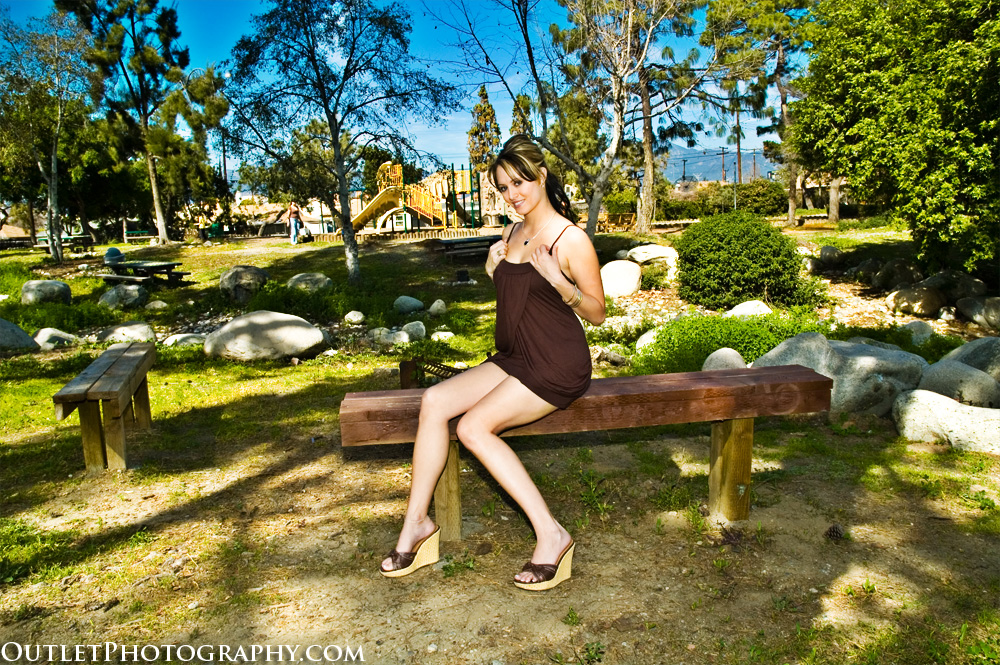
Works perfectly for images intended for social media, like Facebook or Instagram. It’s important that your photos stand out as much as possible, so for things you don’t have control of during the actual shoot, the Patch Tool is my go to option when working on images like the one above.
Finally, remember that Photoshop is just a tool in your overall photography workflow. For working photographers like me, find what works for you and practice, practice and practice more!
OCPix is a contributor, if you’d like to see more of his tutorials, visit his youtube channel. And don’t forget to view all the photoshop tutorial here on our site too! Photo credit courtesy of Orange County Photography. Model: Emily Probst