How to create a faux HDR image on Photoshop with one picture.

Most everyone has heard of High Dynamic Range (HDR) images, created by combining several pictures allowing us to view a greater dynamic range of the lightest and darkest areas of that image. Creating an actual HDR image starts with creating the various exposures at the time of taking the picture then combining them with a photo editing software like Photoshop. But it is possible to create a Faux HDR image with only one picture using a photo editing program like Photoshop!
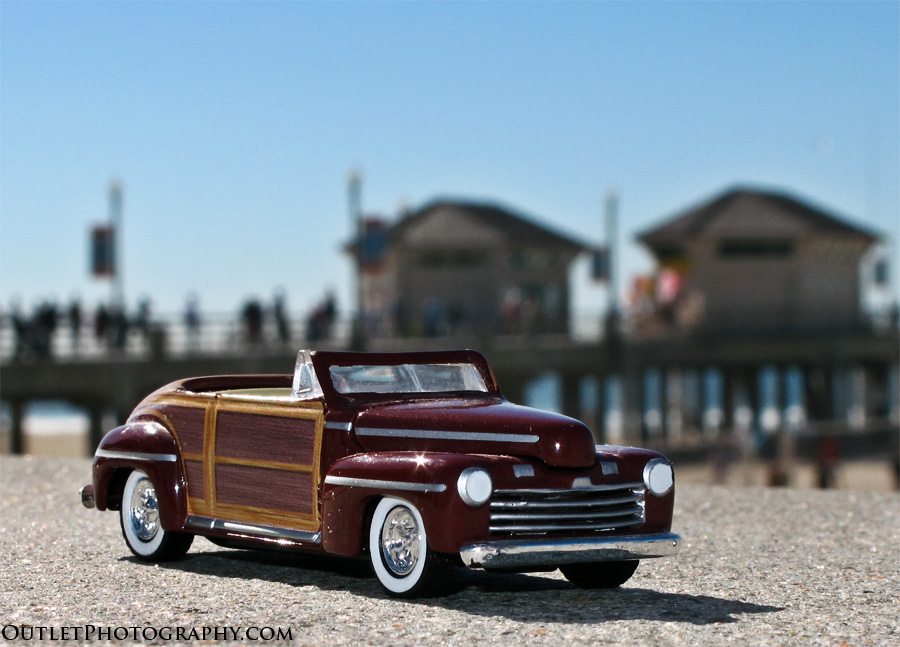
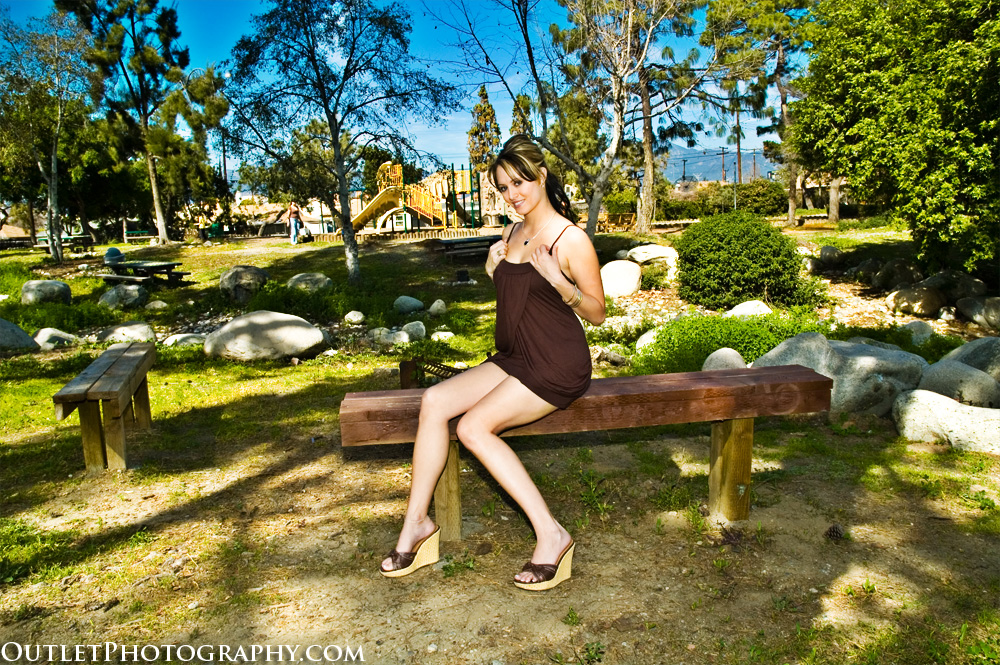
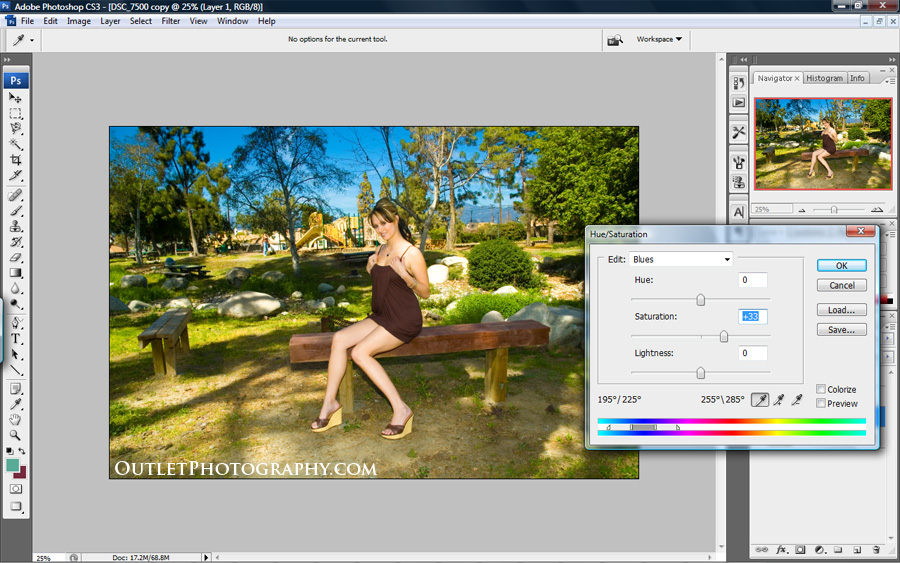
At least I’ll give it a try and create my version of a faux (fake) HDR image with only one image. The picture on the left is the original image in small scale, if you place your mouse over the image, you’ll see the final version. Click the image and see it in full size. Is it an HDR image? Not really, but I think it is HDRish?
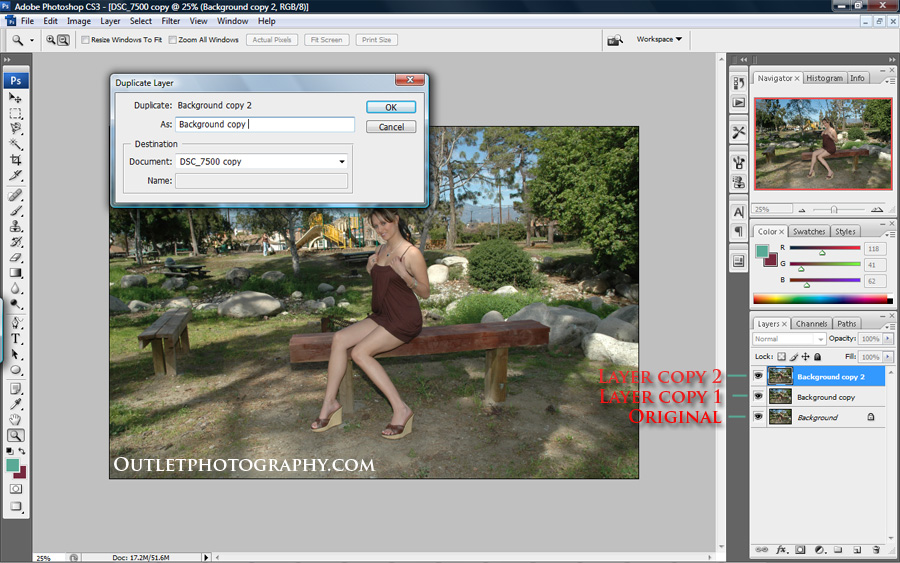
This is how I created it on PS3. First, I opened up the original image on PS3 and created two additional layer copies of it. If you see the image on step one, I indicated the image and the two additional layers on the lower right hand. At this point I have not made any changes to the images, this was only the setup to what I did in step two.
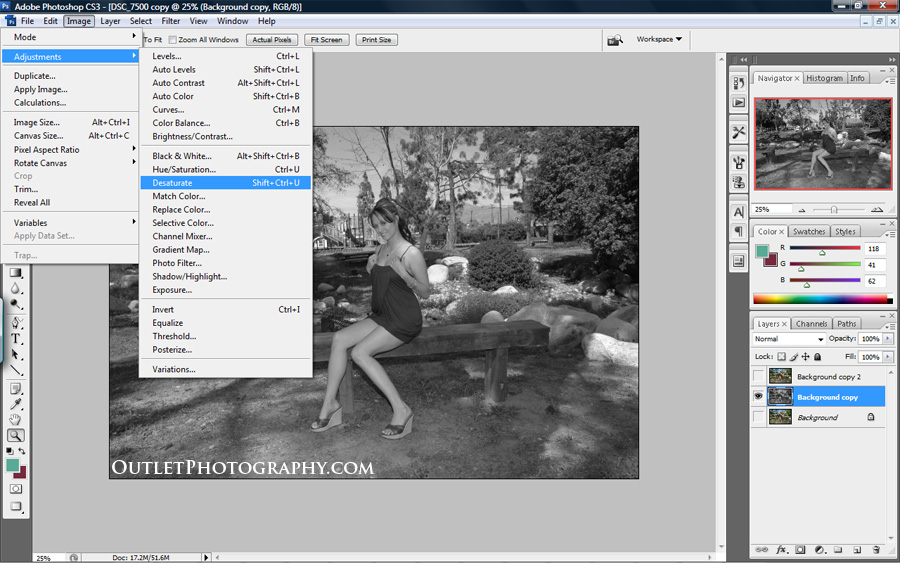
Step two, I chose each of the background copy layers by highlighting them and having only the “eye” checked on the image I was working on at the time, in this case I started with the first layer, the one in the middle. I then clicked on the drop down menu Image>Adjustments>Desaturate, this will remove the color from the image. I also did this to the second layer. Its important that the two copied layers are desaturated, but not the original.
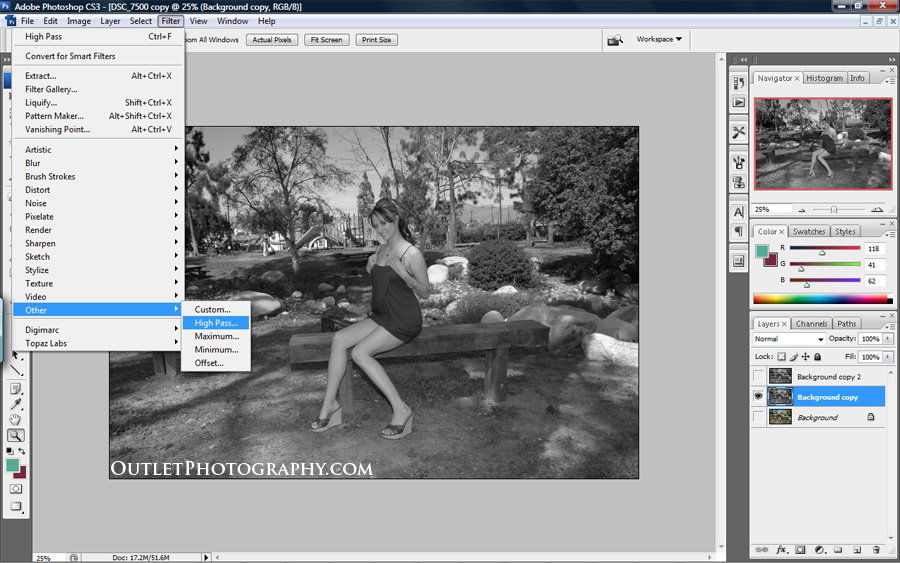
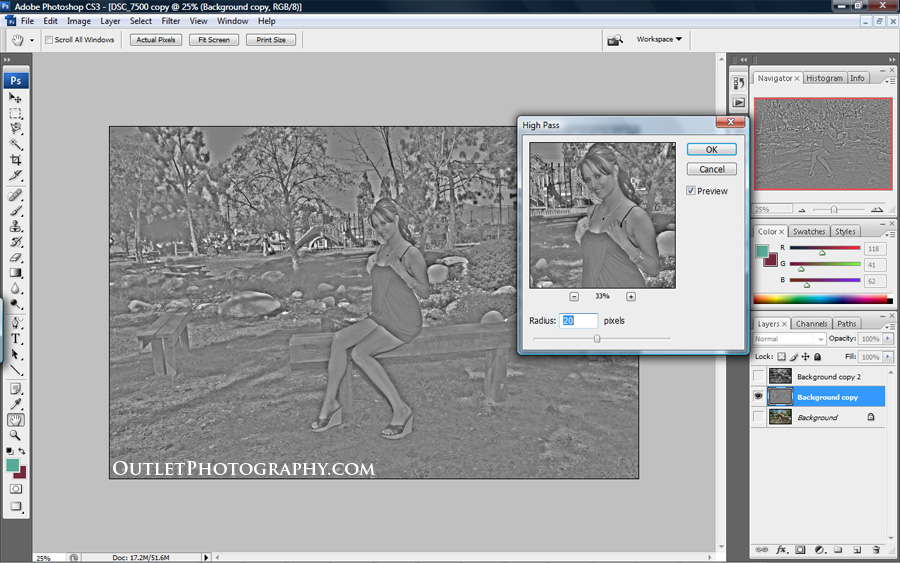
Step three, working on the two images I just desaturated, I selected one and clicked on the drop down menu Filter>Other>High Pass (be sure to only have this image selected with the “eye” box clicked to view the changes you will make). The High Pass filter box will pop up showing a preview screen, (Step Four) I make sure the “preview” box is clicked to see the changes I’ll be making. For this first layer image, I choose something like 20 on the Radius pixels box. I choose ok and moved on to the second copy layer image. For the second image I took it further and selected a 50 or 70 on the radius pixel box. Make sure you select the second image and only have the “eye” check marked for it so you see the changes made.
By the end of step four, I had only worked on the two copied layer images, now it was time to make some adjustments to the original color image. (Step Five) With the original image selected, I prefer to work with a copied layer rather than the original, so I made a copy of the original and increased the saturation, (Image>Adjustments>Hue/Saturation) making sure to do it to individual colors tones rather than using the “master”. With the Saturation option, I increased the saturation of the greens, reds and blues only. I didn’t use any specific number, I simply increased each color to the point where I liked the outcome. Its important to do each color tone separate, the default is “master”, so be sure to click the arrow on the Saturation window box to make the changes. I also used the Shadows/Highlights option (Image>Adjustments>Shadows/Highlights) to adjust the Shadows (first option on pop up window).
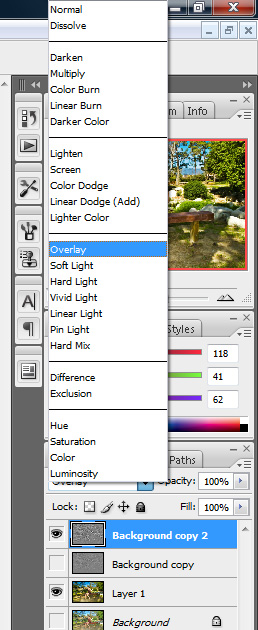

Finally, I select my edited original image, (the one I worked on Step 5) and one of the two desaturated images, in my case I decided to choose the last one. I made sure that only the two images were selected with the “eye”, then I highlighted the desaturated image and the Opacity option I changed to “Overlay”. As soon as this change was made, the final image was created. I compared it using the other desaturated image, but I liked this one better. Why did I then make two desaturated images? To have options, one was set with a lower High Pass filter the other with a higher filter, I then could choose which one looked better. If you try this, play around with several layers set to different levels on the High Pass filter.
I know its not the best or an actual HDR image, but I thought it was cool enough to share how I created it. There are many different ways to create faux HDR like images, I’ve also done it using RAW images and the results are better. Why not give it a try and share your picture? Try doing it whichever way you like and send me a copy, I’d love to share viewers versions of a faux HDR image!