Street Photography – The Do’s and Don’ts
Street photography, the do’s and don’ts so you document everyday life like a pro. Be sure to know the laws
Read more
Street photography, the do’s and don’ts so you document everyday life like a pro. Be sure to know the laws
Read more
For new photographers, using a Beauty Dish or a Softbox, may sound intimidating, but in reality it’s not! I’ll illustrate
Read more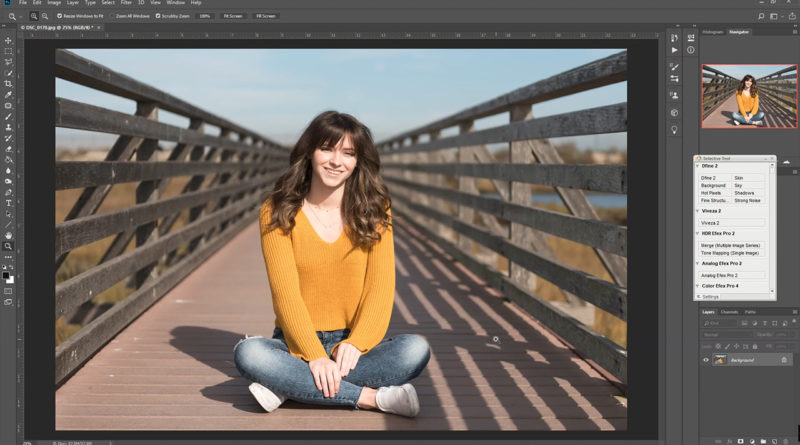
The Patch Tool on Photoshop CC is so easy to use, I’m going to show you how to do it
Read more
I learned early in my career that preparation and planning goes a long way when doing a photo shoot, especially
Read more
The 2013 LA Auto Show is in full swing right now at the LA Convention center. Thousands of people attend
Read more
For most people, taking photos with their smart phone is a fun experience. Sharing them on social sites is the
Read more
Many Nikon D7000 users have recently been complaining about back focus problems. If you’re one of them, not to worry,
Read more